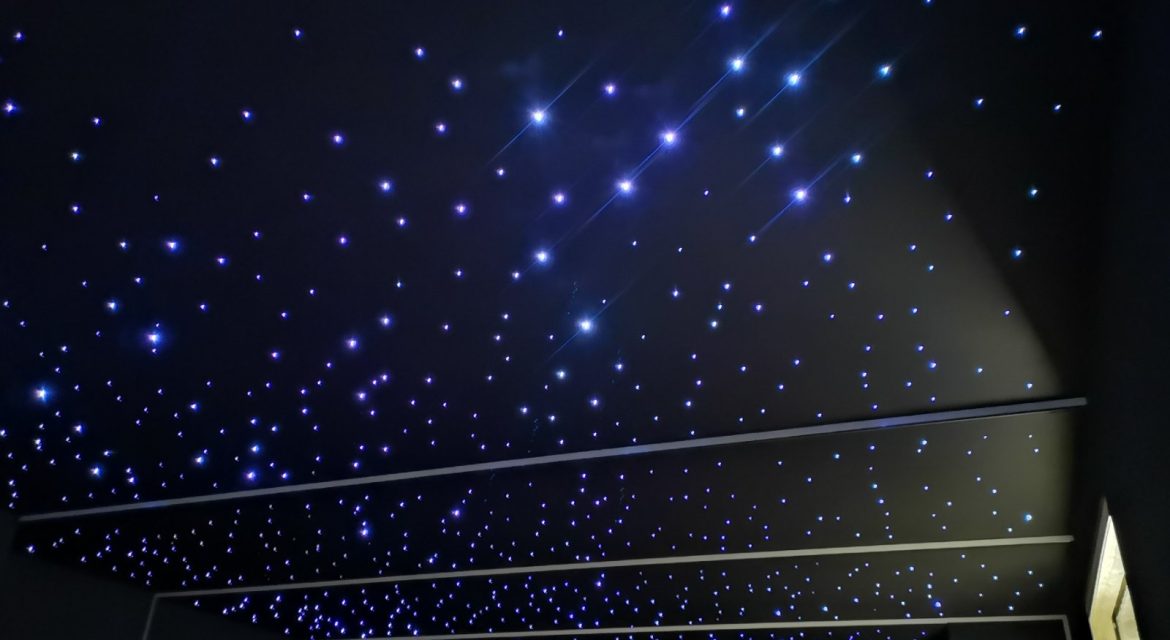
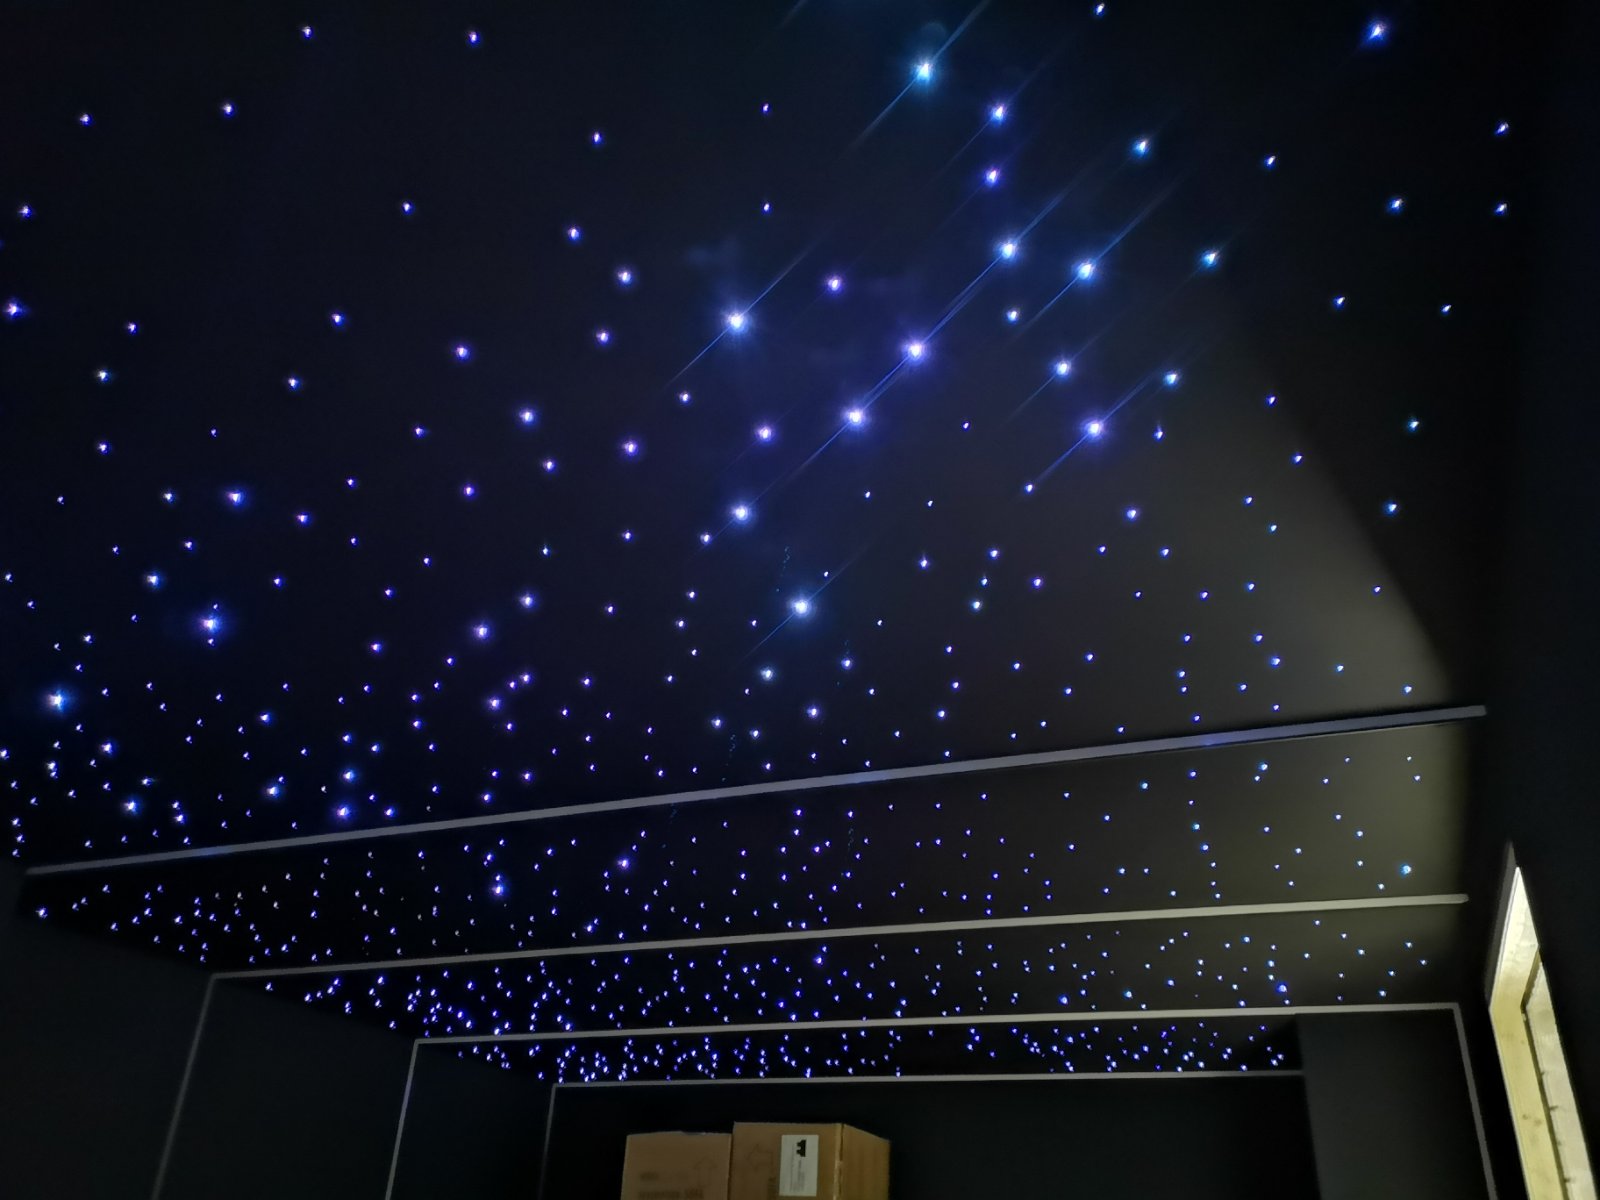
Want to turn your bedroom, home theater, or kids’ room into a cozy night sky? A Plastic Optical Fiber (POF) star ceiling is the perfect DIY project—it’s cheap, easy to install, and looks magic. No pro skills needed—just grab some POF cables and follow these simple steps!
1. Plan Your “Star Map”
First, decide how your stars will look!
– Use a marker to dot your ceiling panel—mix big and small dots (drill bigger holes for brighter “stars,” smaller for dimmer ones) to mimic a real sky.
2. Drill the Star Holes
Time to make the “star” openings!
– Clamp the ceiling panel (if using one) to a workbench—no wiggling!
– Drill straight holes through each marked dot—go slow, so the holes stay clean (no ragged edges!).
– If drilling into your existing ceiling, be careful not to hit wires or pipes—use a stud finder first!
3. Thread the POF Fibers
Now, let’s add the “stars”:
– Cut POF cables into pieces (60–90cm long—long enough to reach the light engine).
– Push one end of each POF through a drilled hole—stick it out 1–2cm from the ceiling (that’s your “star”).
– Gather all the other ends of the POF fibers and bundle them together—tie with a cable tie to keep them neat.
4. Connect to the Light Engine
The final step:
– Plug the bundled POF ends into the LED light engine’s “fiber port”—most engines have a slot to insert the bundle tightly.
– Hide the light engine somewhere out of sight (like an attic, cabinet, or behind a wall)—just make sure it’s close enough for the POF bundle to reach.
– Plug in the light engine… and boom—your ceiling lights up with stars!